


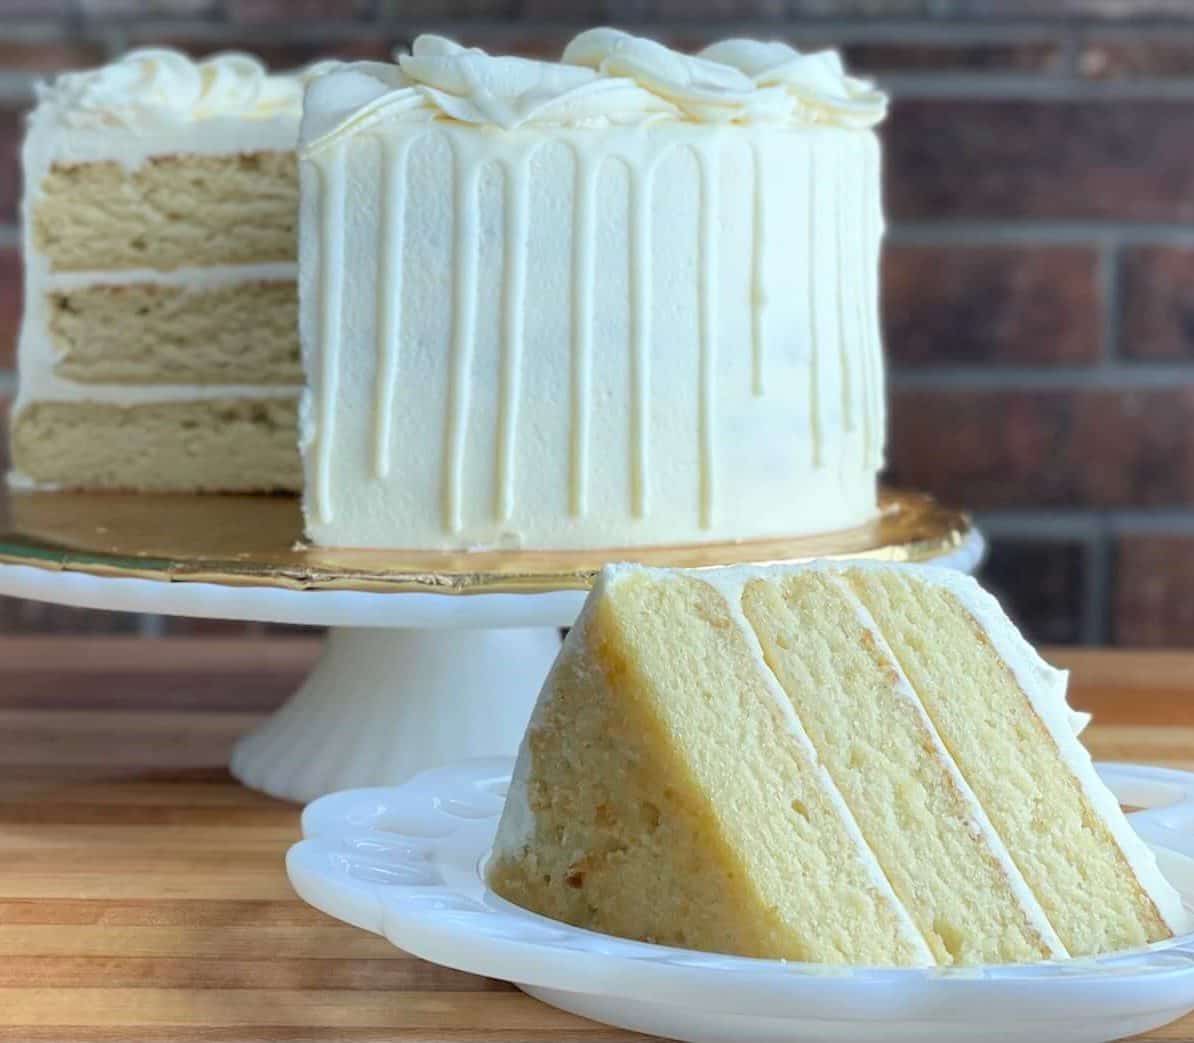
This Vanilla Almond bakery-style cake is extra-moist and tender, with a buttery, almond flavor. It pairs perfectly with my creamy Vanilla Almond Buttercream. This was by far my most popular cake flavor at Amycakes Bakery and the most requested recipe!
Vanilla Almond is the perfect wedding cake flavor, but it will also be a true crowd-pleaser for repeat birthday and special event cakes.
I think the surprising part about this cake is the texture–it is soft and light, and yet rich and moist all at the same time. Plus the extra buttery almond flavor really sets it apart from a typical white cake or vanilla cake.
Vanilla Almond Cake Recipe Ingredients
All my cakes have the same core ingredients. Here are a few important vanilla almond cake ingredients that I would not recommend substituting in this cake:
Salted Butter for the best tasting cake. I know that a lot of bakers and chefs recommend unsalted, but a little salt (aka flavor ☺️) never hurt any of my cakes–When you’re adding a lot of butter to your cake and buttercreams, you can be comforted knowing it’s already going to provide a delicious and flavorful buttery taste.
Unlike unsalted butter, salted butter can be left out at room temperature to soften. I leave my salted butter out the night before I plan to bake with it so that I am never waiting on it to get to room temperature (just make sure it doesn’t get too hot on a summer day).
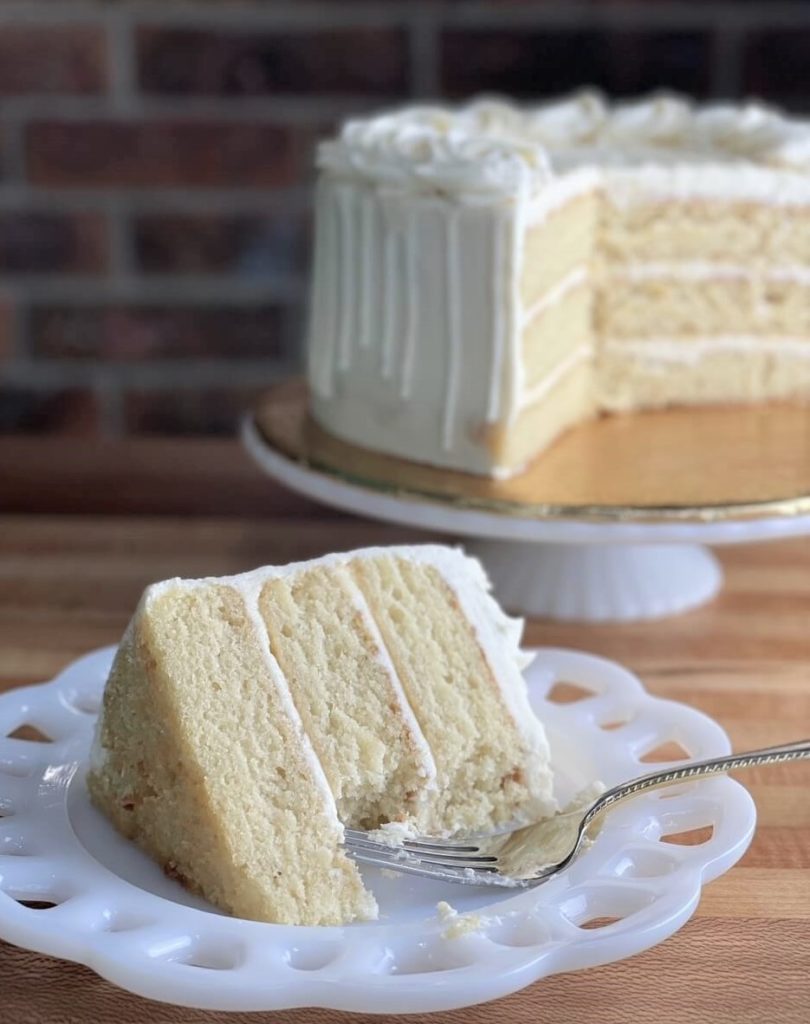
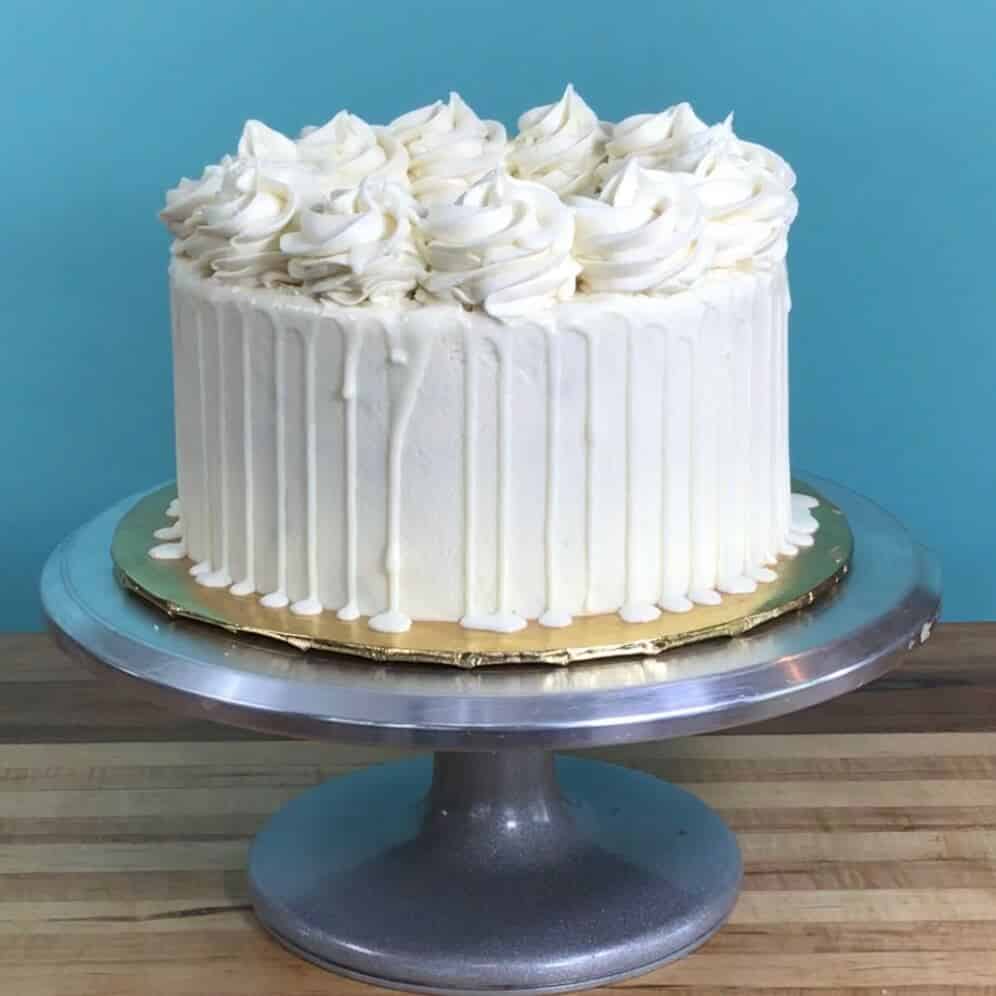
Moist Vanilla Almond Cake
This extra-moist bakery-style cake was by far my most popular flavor at Amycakes Bakery. The cake is buttery, moist, and soft with a delicious almond flavor, and is paired with creamy vanilla buttercream frosting.Bake it in a sheet pan using the Cut and Stack Method and cut out the cake in cake rings for a more even-bake and no dark edge. Or choose a different pan size by visiting Double-Batches and Cake Pan Options: Everything You Need to Know.
Ingredients
Dry Ingredients
- 200 grams (1 ½ cups) All-Purpose Flour (I use Gold Medal)
- 2 Tablespoons Instant Clearjel or 3 Tablespoons Vanilla Instant Pudding Mix (please make sure it’s labeled as INSTANT, see Note #1)
- 1 ½ teaspoons Baking Powder
- 1 teaspoon Baking Soda
- ¾ teaspoon Salt
Wet Ingredients
- ¾ cup Buttermilk
- ¼ cup Water
- 1 ½ teaspoons Vanilla Extract
- 1 Tablespoon(s) Almond Extract
- 1 ½ teaspoons Apple Cider Vinegar
Creamed Ingredients
- 200 grams (1 cup) Sugar
- 1 stick (4 oz) Salted Butter (at room temperature)
- ¼ cup Vegetable Oil
- ¼ cup Light Corn Syrup
- 1 large Egg(s)
Whipped Ingredients
- 2 Egg Whites
- ¼ teaspoon Cream of Tartar
Vanilla Buttercream Ingredients
- 4 ounces Cream Cheese
- 1 ½ sticks (6 ounces) Salted Butter (at room temperature)
- 48 grams (¼ cup) shortening
- 455 grams (3 ½ cups) powdered sugar
- (optional) 1 Tablespoon(s) Instant Clearjel (this makes a thicker frosting, but may be omitted, see Note #1)
- 1 Tablespoon(s) Pure Vanilla Extract
- ¼ teaspoon Almond Extract ((optional))
White Ganache Drizzle (optional)
- 42 grams (¼ cup) White Chocolate Chips
- 42 grams (¼ cup) “Bright White” or “Super White” Candy Melts (or substitute with more white chocolate chips—it just will be ivory in color)
- 2 Tablespoons Heavy Cream
Instructions
Make the Vanilla Almond Cake
- Preheat Oven to 325 degrees. Line ¼ Sheet pan with parchment paper, and then spray bottom (on top of the parchment) and sides of the sheet pan with cooking spray.
- Sift Dry Ingredients in a bowl and then whisk until well blended.
- Combine and stir Wet Ingredients in a separate bowl or pitcher.
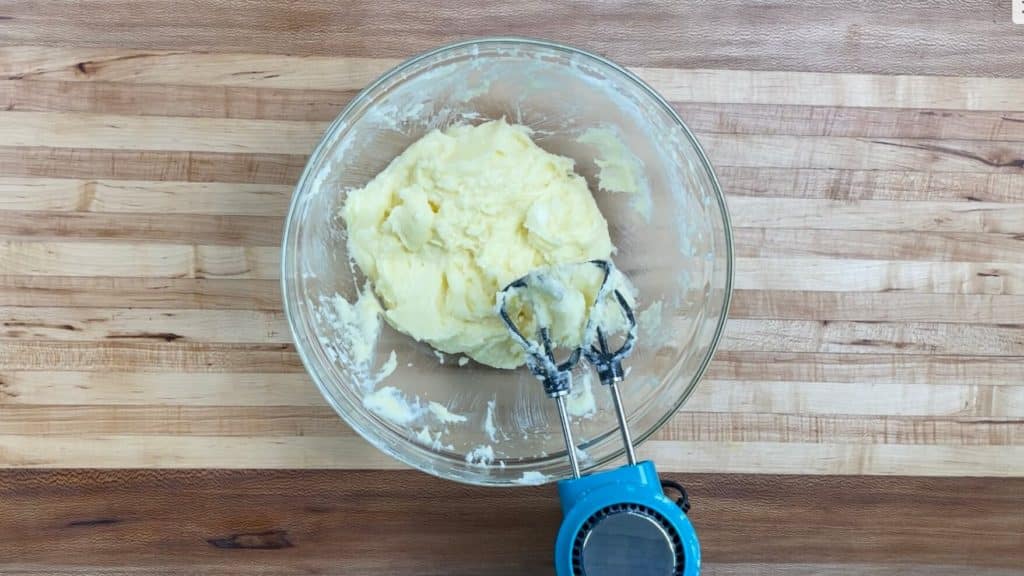
- With a stand mixer (preferred) or handheld mixer, cream sugar and salted butter together until creamy and fluffy. Add oil and corn syrup and beat until incorporated. Add 1 egg(s) and cream until well blended, scraping sides of the bowl as needed.
- On low speed, alternate adding Dry ingredients and Wet ingredients to the Creamed Ingredients, a little at a time. I do ⅓ Dry, ⅓ Wet, and so on, adding one-third at a time and blending on low after each addition. Continue to mix just until the batter looks well blended and smooth (avoid overbeating). Scrape sides of the bowl as needed.
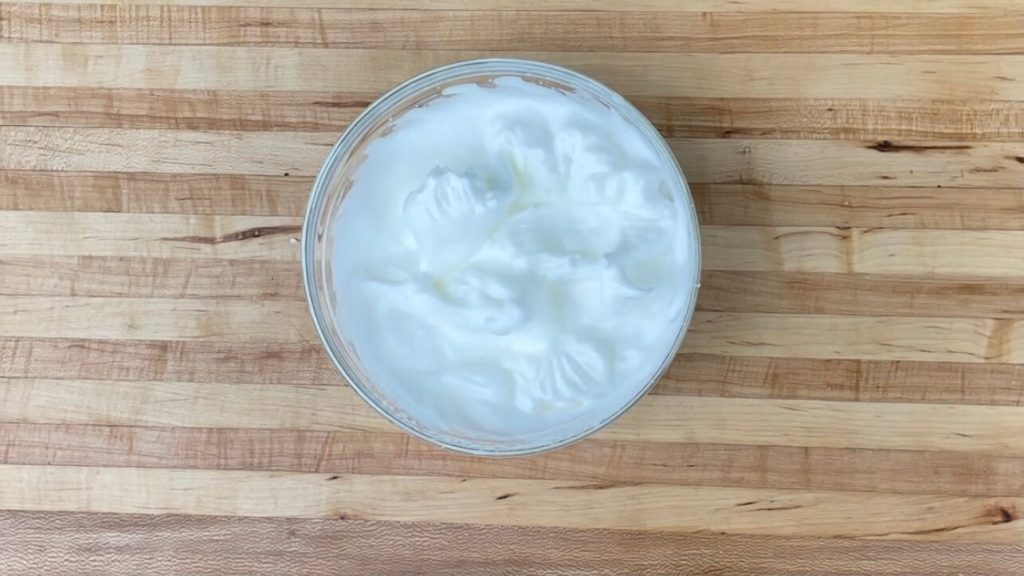
- Using a whip attachment and a clean bowl, whip the 2 egg whites and cream of tartar until stiff peaks form. (Make sure your bowl and beaters are clean and free from grease so that the whites will whip).
- Carefully fold the Whipped Whites into the cake batter, one half of the whites at a time. The batter is ready when no egg white streaks remain and it should look smooth and uniform.
- Spread into prepared pan and make sure the batter is evenly distributed. An offset spatula works well for this.
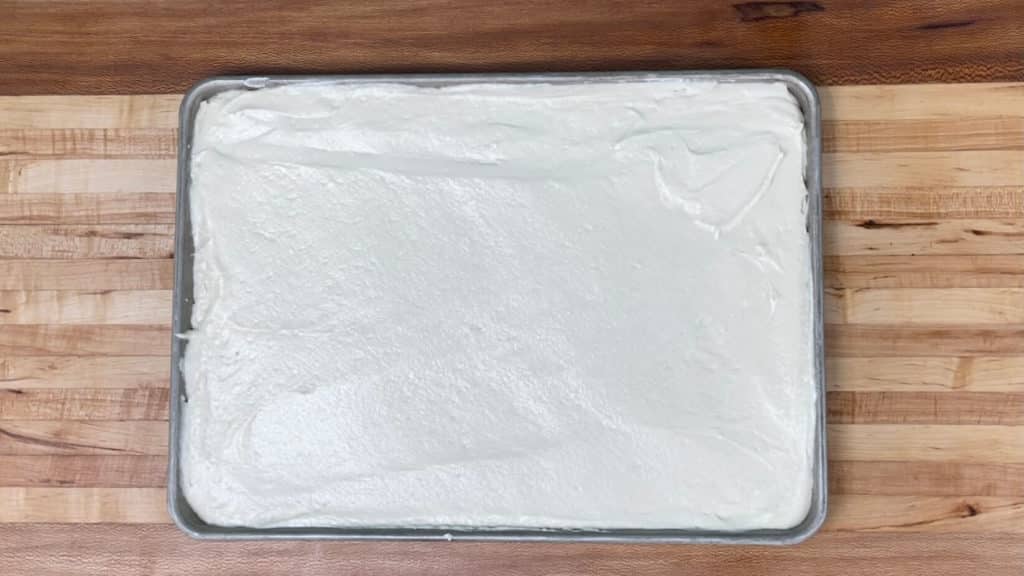
- Bake on the middle or top rack (avoid bottom rack) of preheated 325-degree oven for 18 minutes, then turn the oven down to 300 degrees. Set the timer for an additional 6-8 minutes. Check the cake at this point. If it is jiggly at all when lightly touching the top of the cake, continue baking for 1-6 more minutes. The cake is done when a paring knife or toothpick comes out mostly clean when stuck quickly in the cake. A couple moist crumbs on your knife are fine, but they shouldn’t look wet. Allow to cool completely.
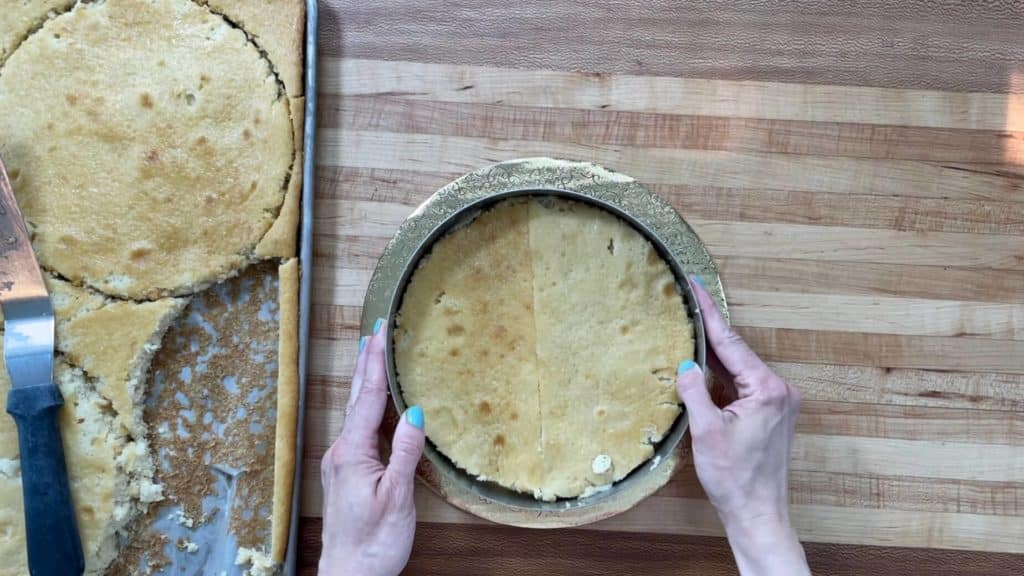
- Either follow the Baker’s Shortcut (Note #4) or choose your round cake size using the Cut and Stack method (Note #2). Leave the cake in the sheet pan, and using a slight sawing motion, cut the cooled cake into your desired cake size with cake rings (You can use a knife and the cake rings as a guide for any halve pieces that you cut.) Brush lightly with simple syrup (optional, Note #3).

- Wrap thoroughly in plastic wrap and freeze cake in the pan for 2 hours or overnight. (You can even bake the cake up to a week ahead of time and freeze). The cake will be much easier to layer if it is cold or frozen. To wrap the cake, place another sheet of parchment on top of the cake (this will prevent the plastic wrap from sticking to the cake), and wrap the whole pan with plastic wrap. (I pull the plastic wrap out and place the pan on top of it. Then I wrap 2-3 ways horizontally and one way vertically so that there are two layers of wrap on all sides of the pan including the bottom).
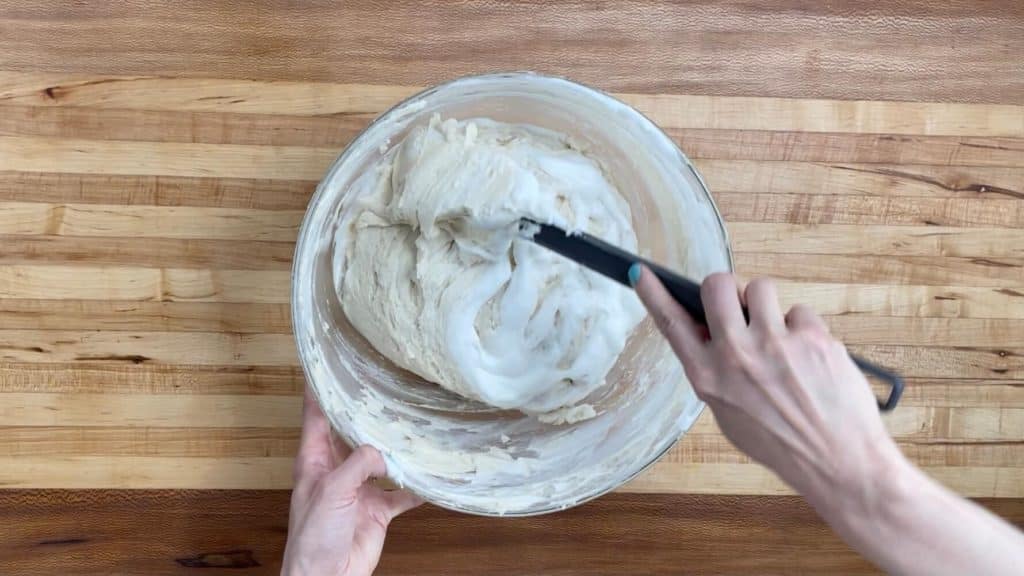
Make Vanilla Buttercream
- Whisk the powdered sugar and Instant Clearjel (if using) together until well-blended. Set aside.
- Using a stand mixer (preferred) or handheld mixer and a large bowl, beat the cream cheese until broken up and softened.
- Add the room temperature salted butter and continue to beat, scraping the sides of the bowl as needed.
- Add the shortening and beat and scrape the sides until there are no lumps.
- While the mixer is on low, slowly add the powdered sugar mixture.
- Add the pure vanilla and almond extract. Scrape down the sides of the bowl. Then beat the buttercream on high for two-three minutes. This will add air into the buttercream and make it light and fluffy. The Instant Clearjel will cause the buttercream to thicken slightly during the next 10 minutes as it sits.
Make White Ganache (optional)
- Combine all ganache ingredients and heat in the microwave at 50% power for 20-30 second increments. Whisk for 30 seconds to one minute in between each heat. (It should only take two to three heats in the microwave. Lots of whisking will melt your white chocolate and candy melts faster and prevent them from overcooking in the microwave).
Frost the Cake
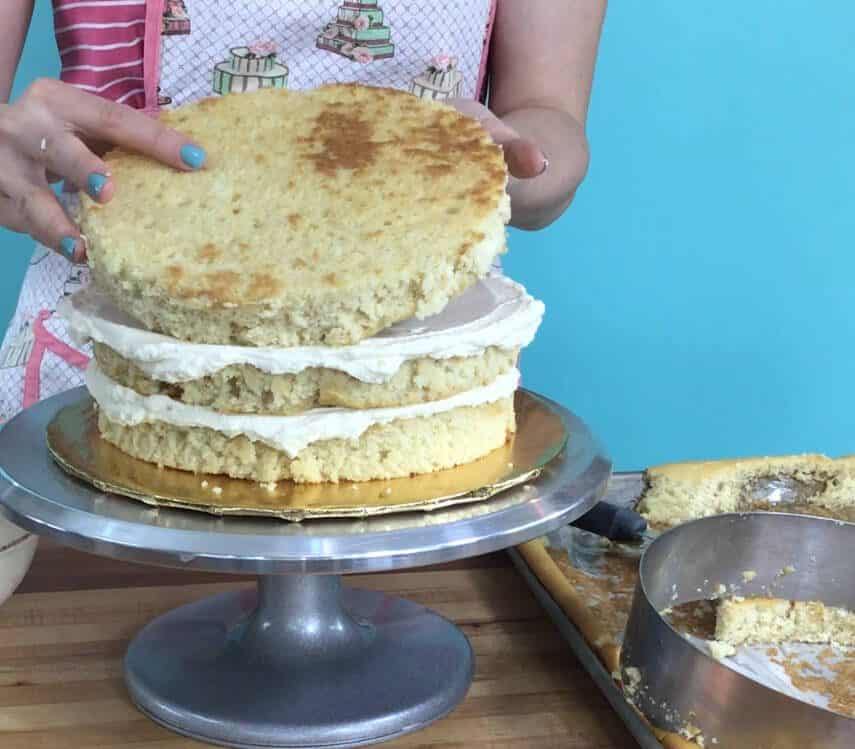
- The easiest way to layer the cake is to layer the cake from frozen the day before you plan to serve it. If serving the cake the same day you are layering it, use refrigerated cake layers instead of frozen. Piece together the bottom layer, filling in with cake scraps if needed. You can use the cake ring as a guide.
- Fill the three cake layers with around ¼ inch of buttercream. I recommend frosting a thin crumb coat of buttercream on the outside of the cake which will catch all the crumby edges, then allow it to set up in the freezer for about 10 minutes until the buttercream is firm. An offset icing spatula (I use the small and medium-size on all my cakes) helps with this. Then spread on the second layer of buttercream and decorate as desired.
- If using, microwave the reserved ganache on 50% power until thin, and drizzle down the sides of the cake using a spoon or squeeze bottle. There is enough buttercream to frost an extra-tall row of rosettes around the top of the cake using a pastry bag and 1M star tip (or get creative with a different design!).
- You can let the cake set up in the fridge, but remove it from the fridge 1-3 hours before serving so it can come back to room temperature. This cake has the best texture at room temperature. Enjoy!
Notes
Notes for 2x batches (some of these won’t apply if you are using the grams measurements):
1 + ½ tsp=½ Tbsp
2 Tbsp=⅛ cup
- Read my article Instant Clearjel: a Magical Little-Known Bakery Ingredient to see why I think this ingredient is worth having in your pantry. Instant Clearjel must always be whisked thoroughly with other dry ingredients before being added to wet ingredients to avoid clumping. If you need to substitute, please use vanilla instant pudding mix in the cake batter as described within the recipe, and simply leave it out in the frosting.
- When baking cakes in a sheet pan, the cake bakes more evenly (flatter on top and with no dark edges), and you get to choose your cake size after baking! With a 1x batch in a ¼ Sheet Pan you can make a three-layer 6″ cake (two full rounds, one pieced round from two half-circles) or several little cakelets. With a 2x batch in a ½ Sheet Pan you can make a three-layer 8″ cake (two full rounds, one pieced round from two half-circles), an extra tall six-layer 6″ cake (5 full rounds, one pieced round from two half-circles), TWO 3-layer 6″ cakes (eat one now and freeze one for later. 🙂 Or have a baking party with a friend and you each get a cake!) or several little Cakelets using a 4″ cake ring or 3″ or 2″ round cookie cutters. You can also choose to bake in sheet-cake pans or round pans. View the pan chart in the article Half-Batches and Cake Pans: Everything You Need to Know.
- Simple Syrup is optional, but I use it to seal in the moisture for cakes that will be refrigerated or frozen. While the cake cools, make a simple syrup by combining 1 Tbsp water and 1 Tbsp sugar in a small microwave-safe bowl. Microwave until the sugar is dissolved after whisking, about 20-30 seconds. You can also make a larger batch of this (1 part sugar to 1 part water) and keep it in the fridge if you’re doing a lot of cake baking. Always cut the cake with cake rings before brushing the cake brush simple syrup, to avoid the cake being too sticky when cut.
- BAKER’S SHORTCUT:
1). Make a sheet cake or little Cakelets instead! Once the cake is fully cooled, spread the buttercream on top and top with sprinkles for an easy sheet-pan cake. (You won’t need as much buttercream for a sheet cake and can do a 0.5x batch of buttercream). For Cakelets, cut the cake into 4″ or smaller rounds using cake rings or cookie cutters. Stack two cakelets together with a layer of buttercream in between and on top (I use a piping bag and 1M star tip for this). The cake will be soft and delicate when at room temperature, so if you have the time I recommend that after it cools, stick the cake in the freezer 10 minutes before cutting your Cakelets. Serve at room temperature.
RECIPE UPDATES:
9-16-21: The original recipe was for an 8″ cake made in a ½ sheet pan. All my recipes now start with small batches, so it is now a 6″ cake made in a ¼ sheet pan. Press the “2x” if you’d like to double the recipe for an 8″ cake in a ½ sheet pan.